Start From An Example
The fastest way to learn truST is to start from a bundled example — an editable working copy you can run immediately, no config to write.
Open the example gallery
With no project open, the truST view offers Start from example (alongside Create and Open).
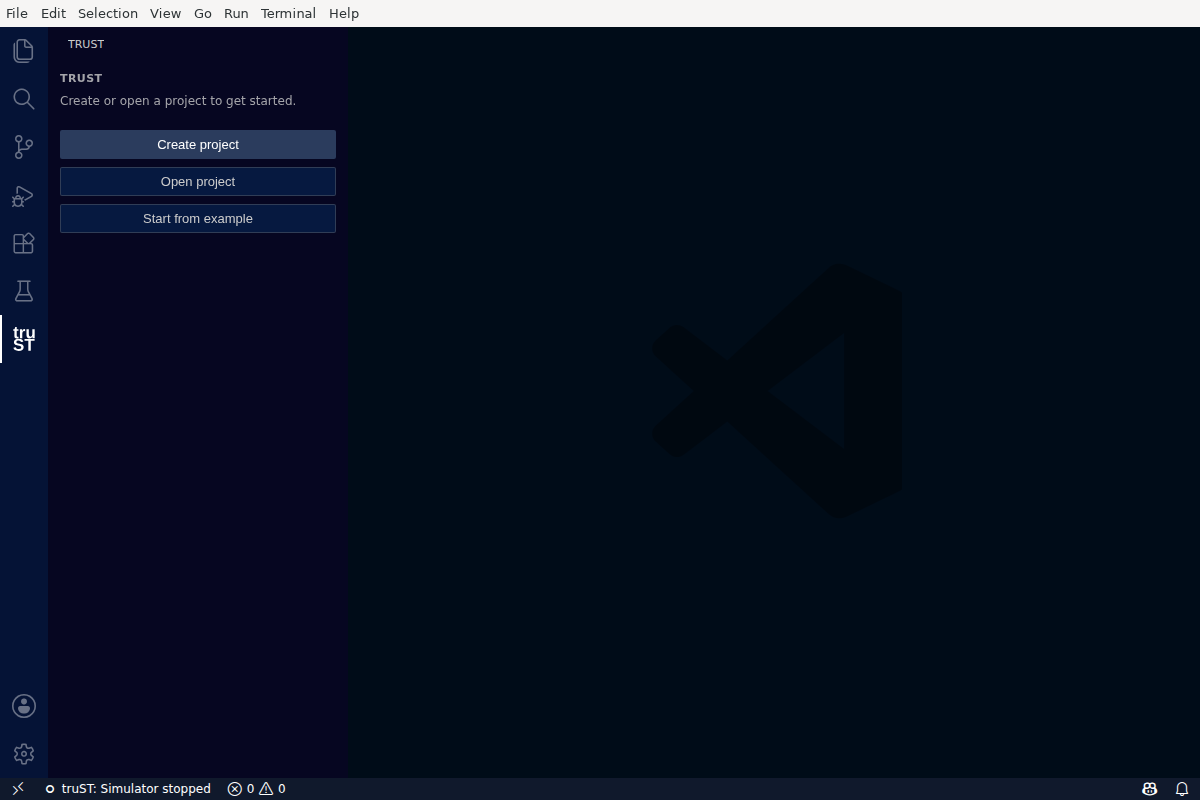
With no project open, Start from example copies a ready-made starter.
Click it to open the searchable example gallery. Hardware and category filters can be combined, and each
card says what hardware (if any) it needs. Pick one, choose a destination folder, and truST copies an
editable working copy there and opens its source. You never edit a .toml to get going — a
No hardware starter runs in the simulator right away.
The bundled starters
| Example | Hardware | What it is |
|---|---|---|
| Empty simulator | No hardware | A minimal runnable project — press Start to simulate immediately. |
| Conveyor demo | No hardware | A small, realistic program with live values to watch it run. |
| HMI starter | No hardware | Ships an HMI descriptor so Open HMI works out of the box. |
| TwinCAT ADS | Requires TwinCAT | Starter for a Beckhoff TwinCAT (ADS) device — runs in the simulator; wire the real PLC in Devices & Connections. |
| Raspberry Pi (EtherCAT / GPIO) | Requires Raspberry Pi | Starter for a Raspberry Pi field-IO target — runs in the simulator; wire real I/O in Devices & Connections. |
| PLCopen Motion single axis | No hardware | Portable single-axis motion starter using the bundled PLCopen Motion library. |
The hardware tag tells you what you need: a No hardware starter runs entirely in the simulator; a hardware starter still opens and runs in the simulator, and you connect the real device later from Devices & Connections.
Next
- Run it: Run & Check
- Watch it: Live Values
- Wire real hardware: Add A Device
- Start from scratch instead: Create A New Project